————————————————————————————————————————————————————
How to Design & Build a Bus Interior.
————————————————————————————————————————————————————
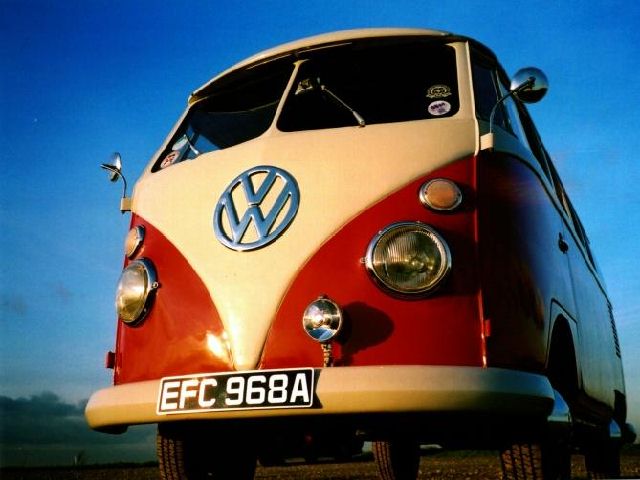
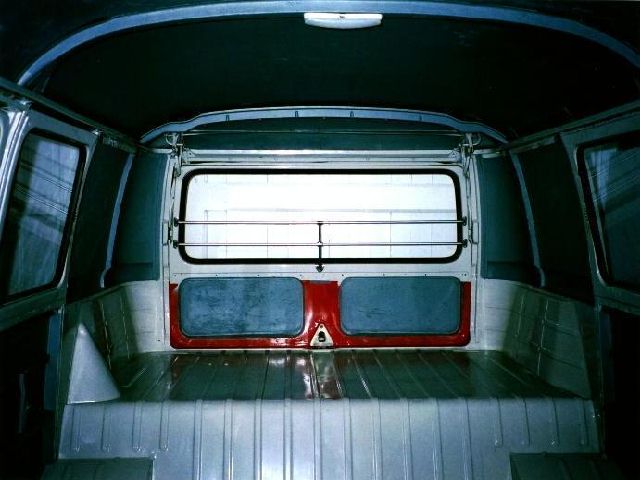
This 1963 Transporter was originally specified as a Microbus 9-Seater, which consisted of two rows of forward facing bench seats in the
loading area. For some reason within its four decades the interior had been removed, and by the time i adopted the bus, the interior had
been completely gutted except for a pair of front seats.
I required a bus that was capable of helping me survive a long weekend, something basic and easy to use. The interior needed a table, a
bed, a cooker and plenty of luggage space. After attending many shows, close inspection of other vehicles and reading some good reference
books, the final design was loosely based on a 1960's Canterbury Pitt Conversion. A few items were omitted from the design like the sink
& the wardrobe.
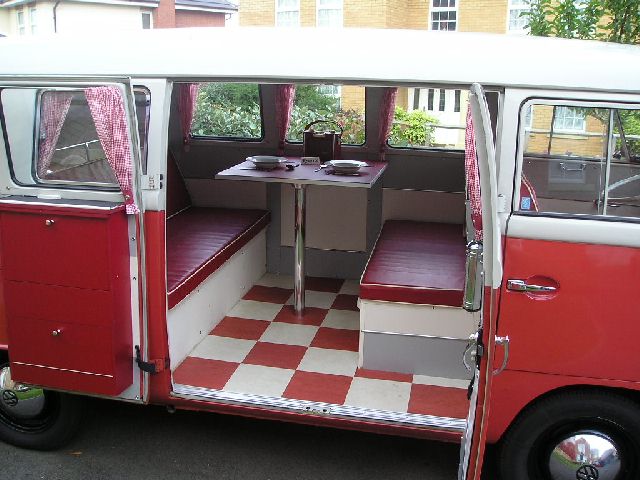
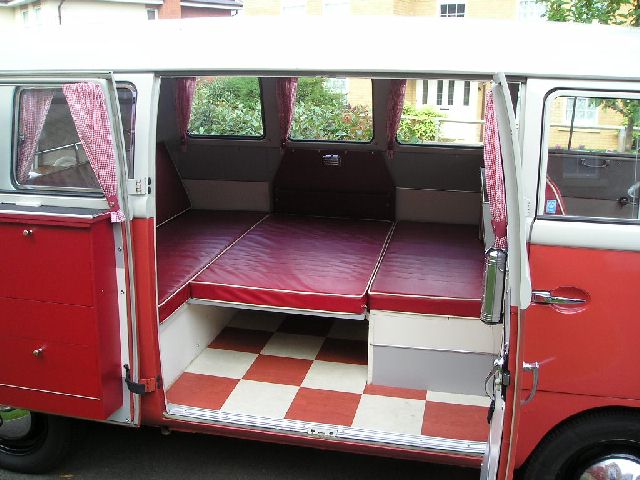
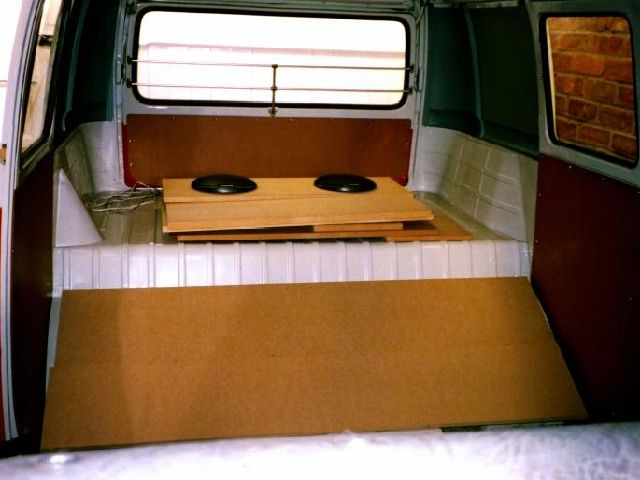
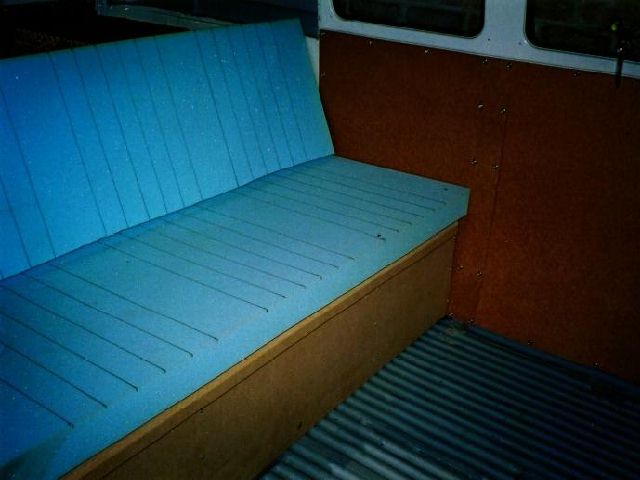
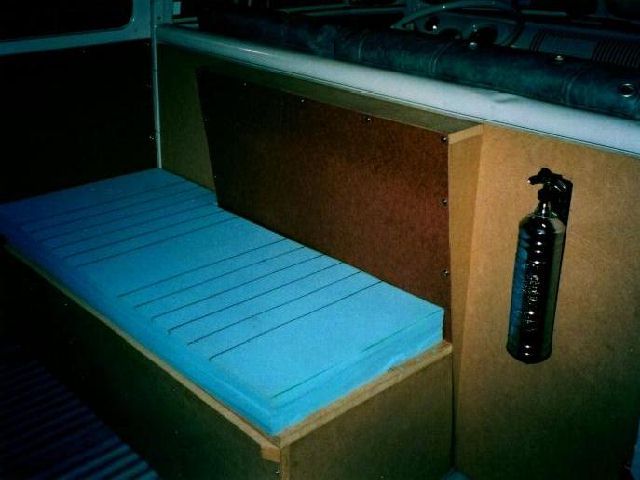
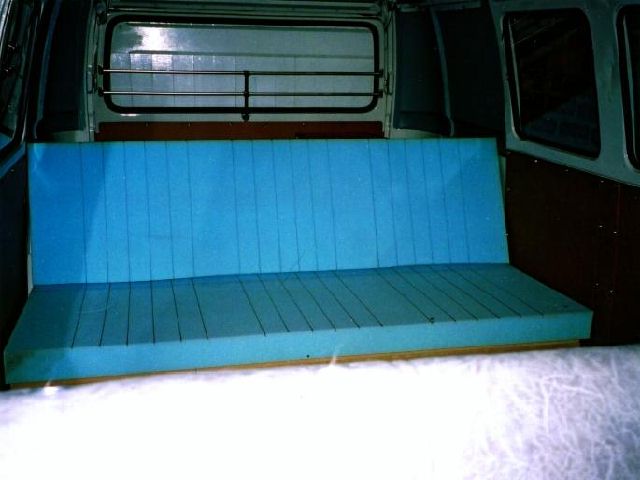
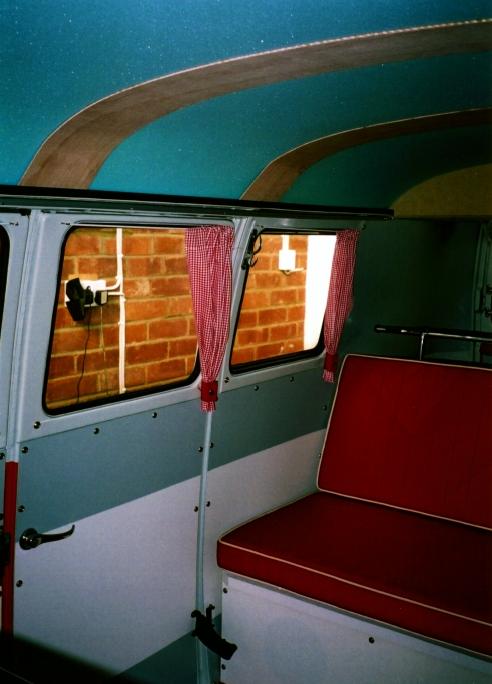
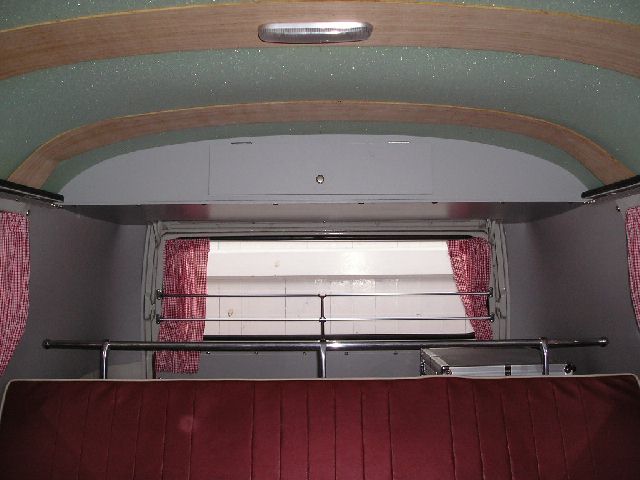
The design basically consists of two opposing box-seat style benches with a centre table. The rear bench is a full width affair whilst the
front is a 3/4 (to access via loading doors). The centre table is the key element to this particular design as it also doubles as the middle
section of the bed, (slotting between the two benches). This layout leaves the rear luggage space free for those all important weekend
essentials like picnic hampers, barbeques and a few beers.
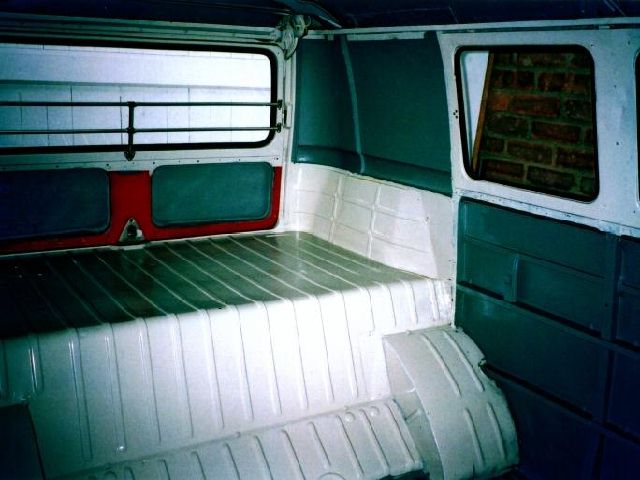

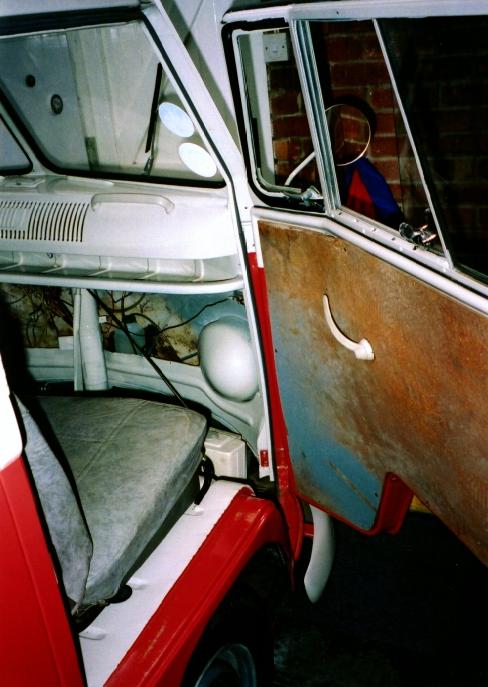
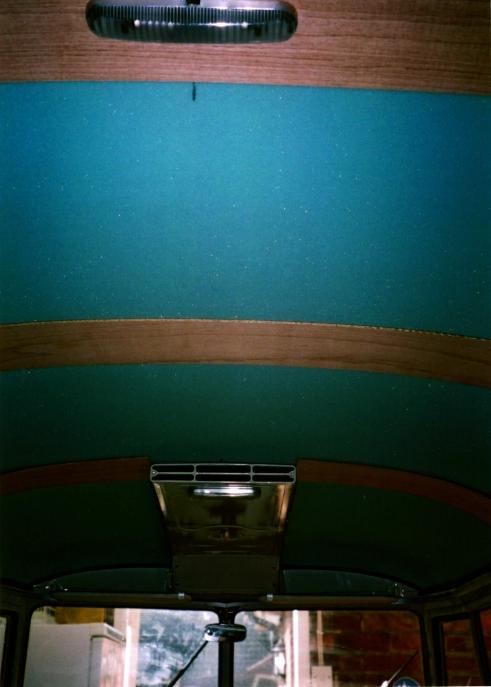
All the internal surfaces were cleaned up, zinc primed and painted including the rear hatch, loading doors, cab doors, inner nose panel and
the roof section. The woodwork is basically 18mm MDF in the loading area with 3mm hardboard for the door cards and kick panels,
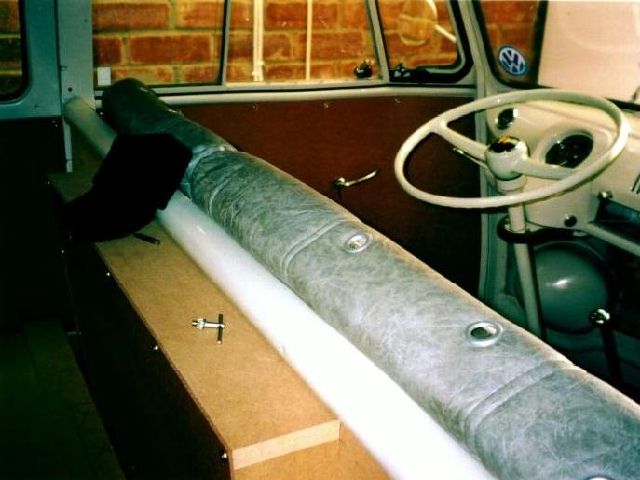
these are fastened together using various screws and lengths of piano hinge. After the benches were assembled, 3" thick foam was cut to
size and marked up indicating where the flutes or stitching had to be placed. The foam and the front seats were then taken to a local sofa
upholsterer to be covered in the chosen fabric, Burgundy leatherette with cream piping.

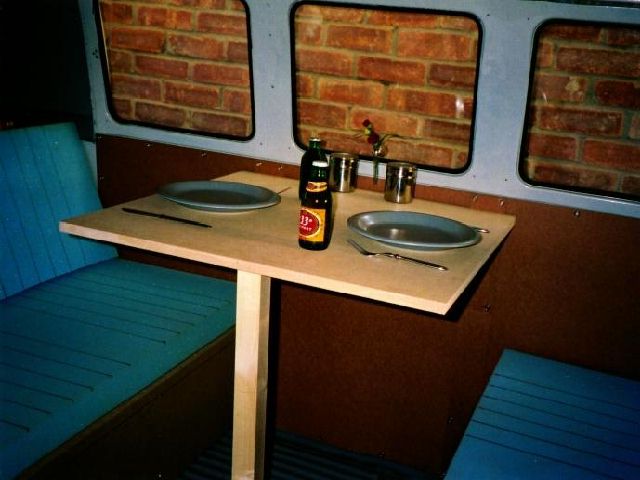
Once the benches had been bolted into place, the gap between them could be measured for the table. The table is fastened via a quick
release bracket to the fixed sidewall panel and is interchangeable with a traditional style magazine rack that was also fabricated. The table
was set-up, tried and tested for knee height and size.
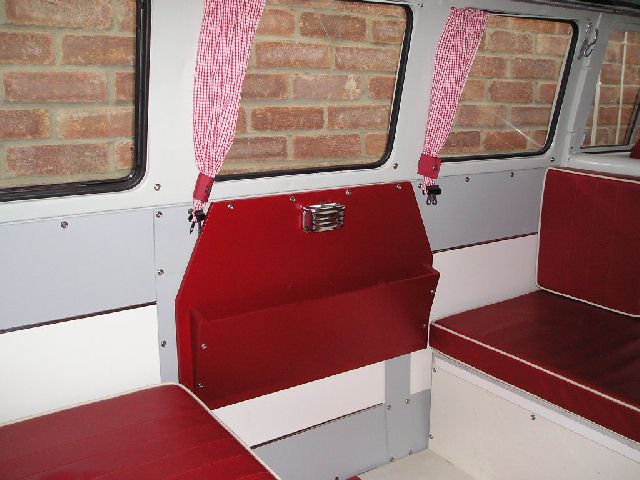
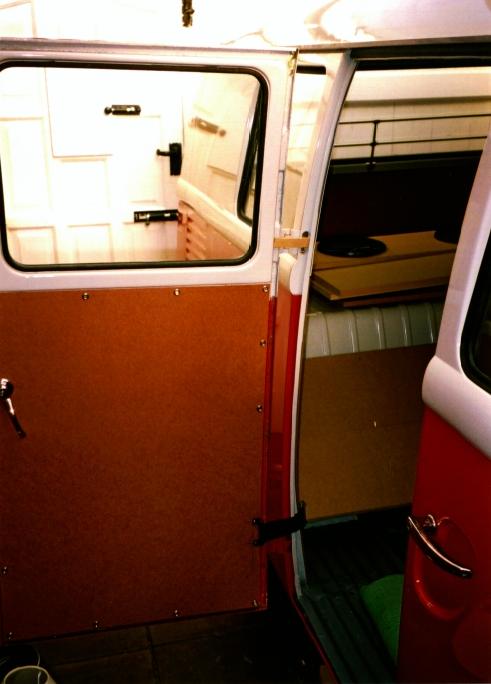
The door cards were cut to shape and then covered with a DIY store 'kitchen & bathroom' paint, this meant that they are easily wiped
down and waterproof. The door card backs were also painted on this to prevent mould growth and help reduce the chances of distortion
which is usually due to moisture. Stainless screws and caps were used to secure the cards to the body and the set of bright trim were
secured with square headed bolts instead of the usual feeble bendy clips.
The roof lining consists of 1" foam rectangle panels held in place by 4" wide lengths of ply & approx 55" long. These are bend and held in
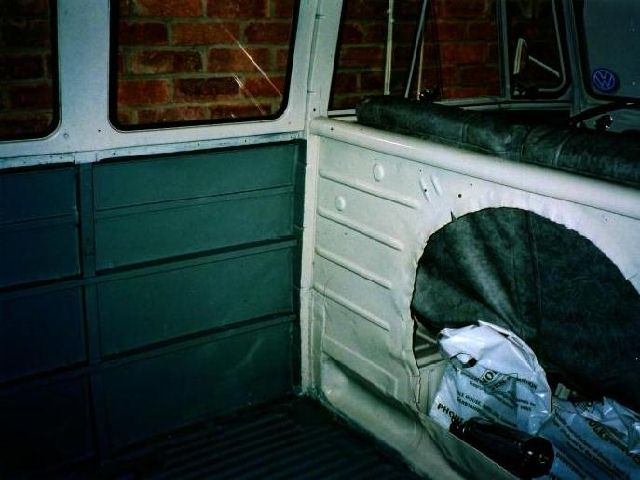
place by the small internal gutter just above where the curtain rail is situated. A roof locker was also built into the design for two reasons,
first being of extra storage and secondly when i installed the headlining, there was no reason to mess about forming the rear corners.


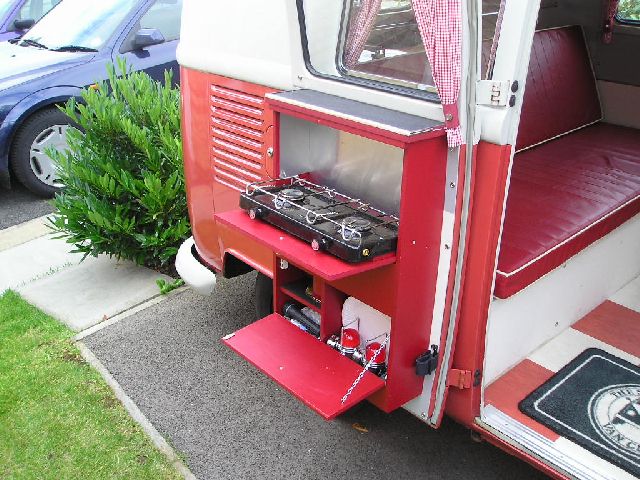
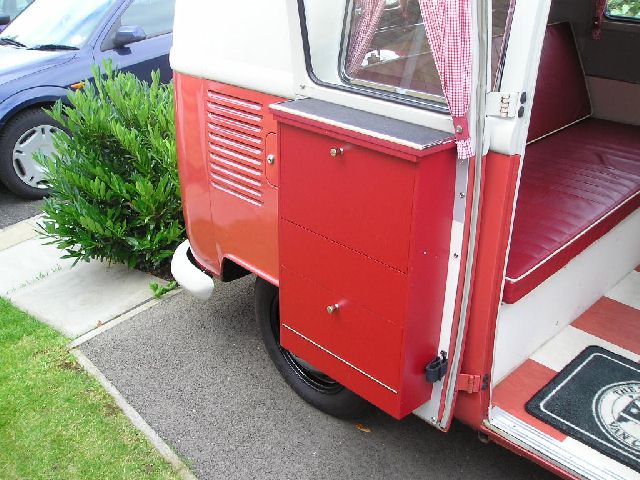
The cooker unit is also based on the Canterbury conversion and is constructed from 12mm MDF. A brand new dual burner gas stove was
installed and painted with black enamel. The cooker unit was painted and then lined with aluminium sheet. The upper cupboard houses the
gas stove whilst the lower is for storage of plates, tea-bags. The cooker is bolted from behind directly to the door card using several large
spacers to spread the weight.


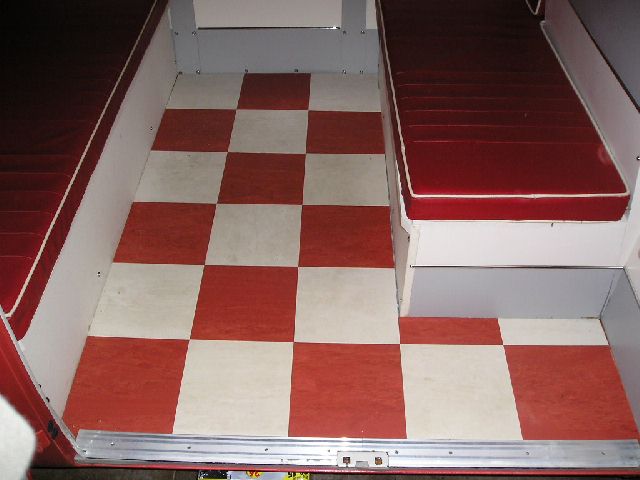
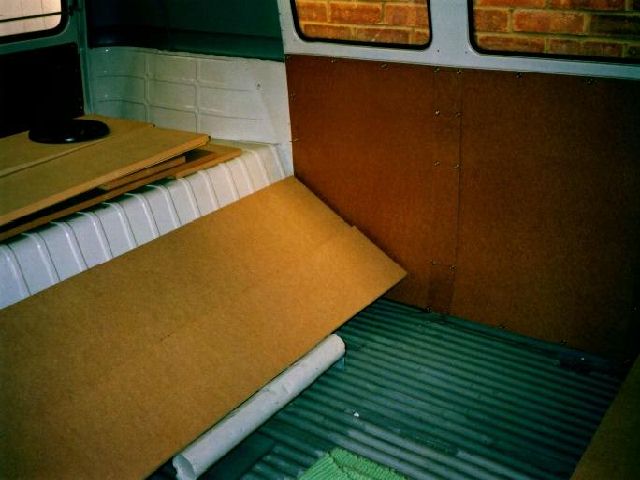
The original floor has a ribbed metal section and the first flooring attempt of carpet was uncomfortable under foot and after a few months
became unsightly. So this was changed for something more in keeping with the original design, the floor is now lined with a sheet of 5mm
marine ply with DIY-Store vinyl self-adhesive floor tiles (another wipeable surface) which were cut down in size to match the original style.
A carpet runner/trim was used to finish the loading area edging.
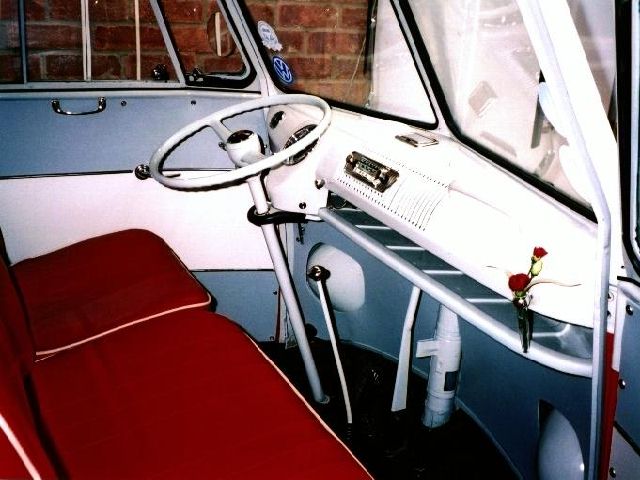
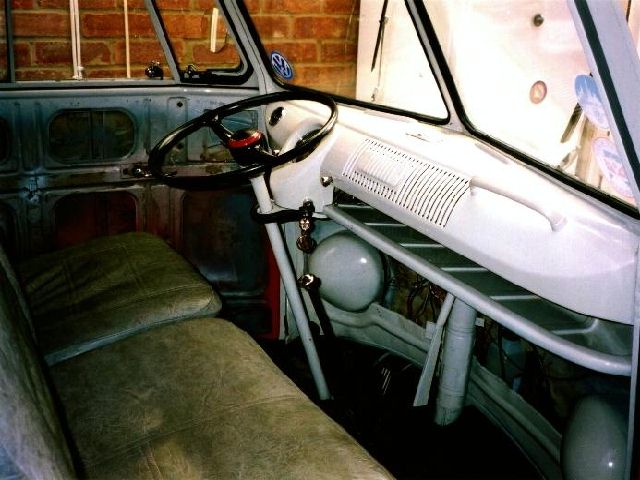
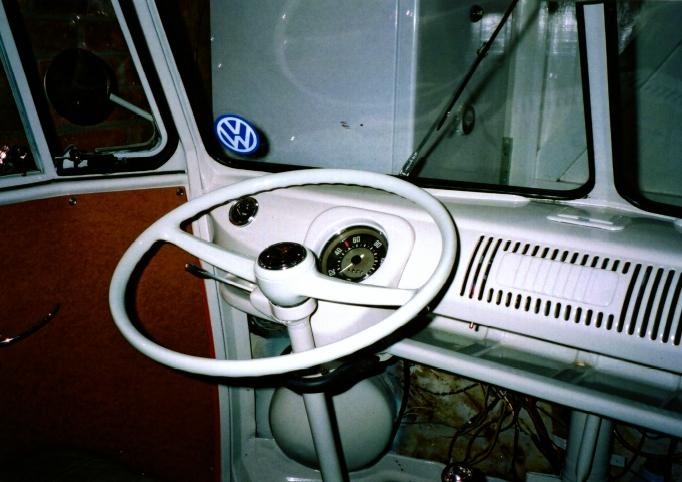
The cab area only contained a rather grubby and tatty pair of front seats, these needed a set of seat pads and seat covers. The frames also
needed cleaning up, so these were shot blasted and painted. After painting the cab frames were also sent to the local sofa guy. The cab
area was also finished with two-tone door cards, bright trim and dash accessories.
![]()
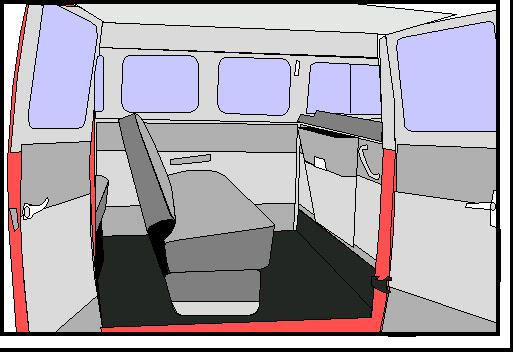
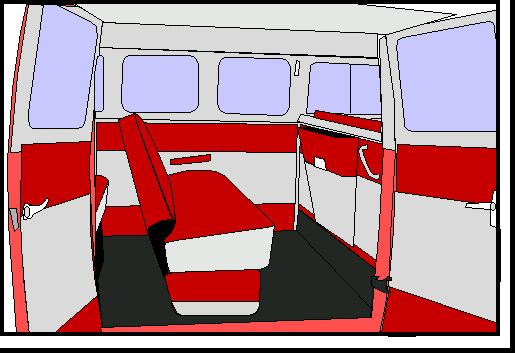
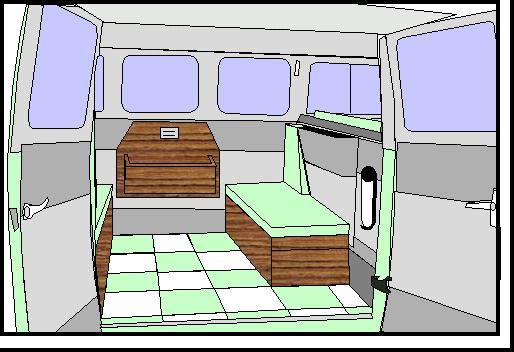


My PC artwork aided the design and helped in choosing the colours & visualising the lay-out.
( As featured in Volkswagen Camper & Commercial Magazine - Issue 16 - Autumn 2004 ).
Please note that all photos on this page are clickable (to enlarge view). To view other vehicle interiors - See gallery pages or click here.
![]()